Greek Yogurt Apple Galette
When it comes to pies, I have to admit to being something of a picky eater. For many years, apple was the only sort of pie that appealed to me, followed distantly by the pumpkin pies that rolled out around October and were always found lacking. I remember trying pecan pie at a barbecue once, and saying, quite abruptly, NO, THANK YOU.
Of course, I’d heard tell about other, foreign pies… The idea of strawberry rhubarb was puzzling and vaguely nauseating, as people kept describing rhubarb as a sweet celery (true, but off-putting to those who have never tried it and now no longer wish to), and I was certain cherry pie could only taste like a chunky version of Tylenol cough syrup.
For reasons unknown to everyone, including myself, the first homemade pie I attempted was blueberry, though to date I had only ever had blueberry muffins. The crust was cardboard, the filling soupy and clumped with cornstarch, and was enjoyed (the term is used loosely) only drowned in a vat of french vanilla ice cream.
I vowed I would never again waste my time with pie making.
But when I rediscovered my love for baking, as someone who loves jammy, fruit-filled goodies lovingly enveloped in flaky pastry, I could only stay away so long. I did cookies. A cake or two. Biscuits, scones. A yeasty pastry, which was somehow much less intimidating than a pie crust. Then I got my feet wet, just a toe at a time. Crumbles, cobblers–easy peasy. Then I thought to myself, a little crust couldn’t hurt, it’ll be easy if you don’t have to stuff it into pie dish. So then I dabbled in hand-pies. I love crust, I’m totally a crust gal, I told myself, but a little more filling wouldn’t be such a bad thing… Thus, we arrived at galettes.
And, honestly, I think I’m here to stay. You can get beautiful presentation and shapes with galettes, yet even the most rustic one will still look more appealing to me when compared to a painstakingly latticed crust. There is no worrying when the crust breaks, and you can use a minimal amount of flour when rolling because it doesn’t have to be perfect. They slice wonderfully, and can be made in a pan or free form. Sounds like a winner to me!
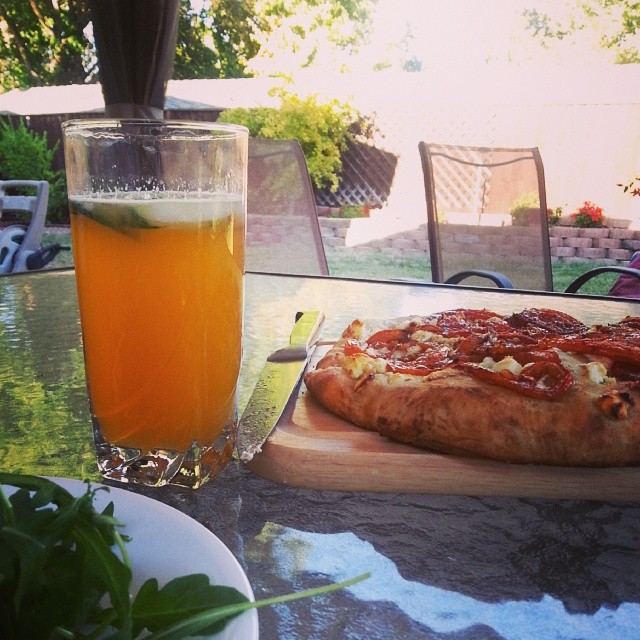
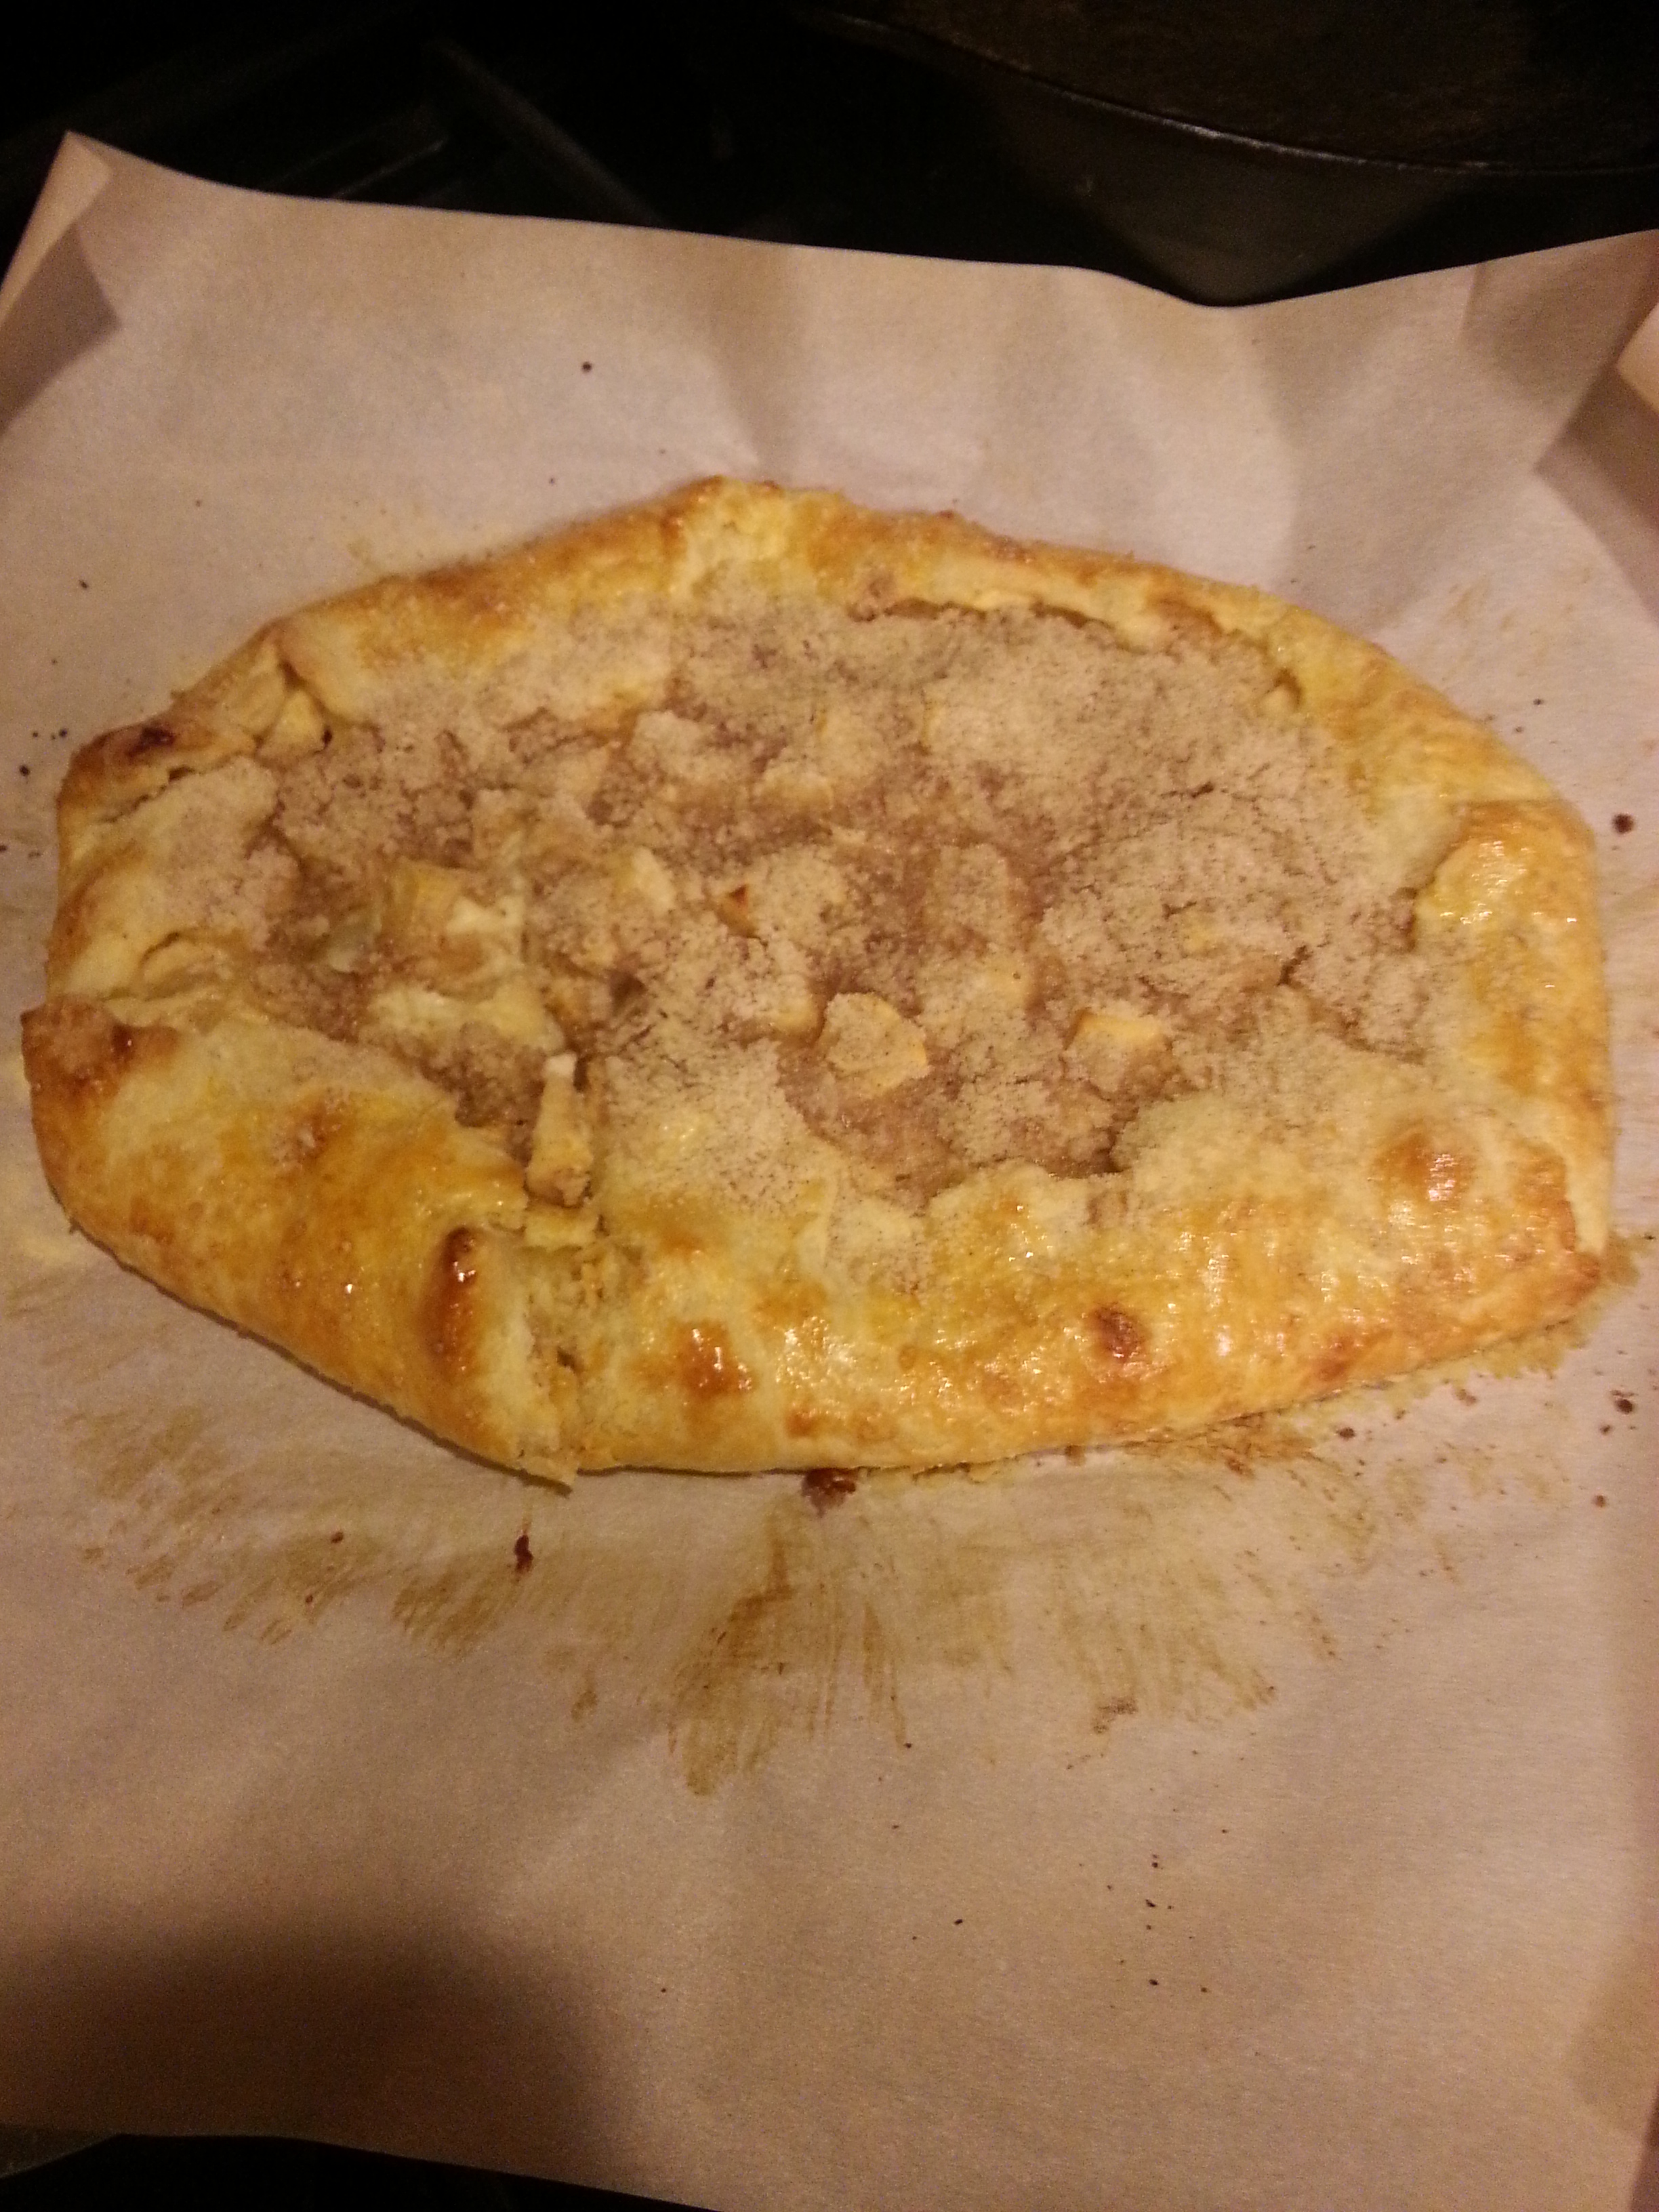
So we’ve come full circle to the pie-that-isn’t-a-pie, filled, naturally, with apples. It has a delightfully tart twist on a custardy accompaniment, with a healthy ladeling of streusel atop it, which I think you’ll find very satisfactory updates to the scrumptious standard that is apple pie. If you truly want to gild the lily, a deeply flavored buttermilk caramel sauce will accompany it nicely.
Greek Yogurt Apple Galette
crust & caramel adapted from smittenkitchen
Serves 4 generously, or 8 in standard wedges
The dairy in this crust need not be full fat, although that will be lovely and rich, and you can certainly use yogurt, sour cream, or even ricotta cheese. As for the greek yogurt in the filling, sour cream would of course be delicious. If you prefer your apple pie filling to be jammy, try roasting the cut apples at 375 degrees for 10 minutes prior to mixing with the yogurt filling.
Crust:
1 1/4 cups (160 grams) all-purpose flour
1/2 tsp table salt
1 1/2 tsp granulated sugar
Zest of half a lemon
8 tbsp (1 stick) cold unsalted butter, cut into pieces
1/4 cup greek yogurt
3 to 4 tbsp cold water
Glaze
1 egg yolk beaten with 1 tsp water
1 tsp raw/coarse sugar for sprinkling (more as needed)
Whisk the flour, salt, sugar and zest together in the bottom of a large bowl.
Work butter into flour with fingertips, fork or pastry blender until the consistency is “coarse meal.” No clumps bigger than tiny peas, but don’t overwork the butter or you’ll lose the light, flakiness in the crust.
In a separate small bowl, stir together yogurt and 3 tablespoons. Pour into coarse butter mixture. Stir together with a spoon or spatula until mostly formed together. Add the extra table spoon of water if your dough is really refusing to come together. Then use your hands to knead the mixture into a rough ball.
Wrap in plastic and flatten into a disc to chill in the fridge for 1 hour, up to 48 hours. If in a rush, freeze for 15-30 minutes instead.
Make your filling (recipe below).
Pre-heat oven to 400 degrees. On a floured counter (or large piece of parchment paper), roll the dough into as best a round shape as you can, roughly 14 inches across. I find it easiest to roll dough out on parchment paper (it will slip; just be slow and patient) and simply transfer the parchment paper onto a baking tray.
Carefully spread filling in the center. This is a wet filling, so you’ll want to be mindful of the yogurt mixture spreading to the edge– just spoon the apples in for now. Fold the edges over the filling, making sure to crimp or pleat the edges so it forms a neat crust.
In a small bowl, whisk together egg yolk and water, and brush over the crust. Sprinkle with the raw/coarse sugar.
Bake galette for 20 minutes. Remove from the oven and sprinkle crumb topping (recipe below) on pie. Do not be alarmed if it seems to be soaked up by a still-wet custard filling. Return to the oven for another 10 minutes, or until golden brown. After removing from oven, let stand for 5 minutes before serving.
Custard filling:
1 egg
1 cup sour cream
1 tsp vanilla
2 tbsp flour (or cornstarch)
3/4 cup sugar
1/2 tsp nutmeg
Pinch cinnamon
3 cups peeled, chopped apples
In a medium-sized bowl, beat egg, vanilla, and sour cream together. Stir in sugar, flour, nutmeg, and cinnamon. Gently fold in the apples.
Crumb topping:
2 tbsp + 2 tsp flour
2 tbsp + 2 tsp cup sugar
2 tsp ground cinnamon
1 tsp ground ginger
Pinch salt
1 tbsp butter
In a small bowl, combine all dry ingredients. Cut in the butter with fingertips, fork, or pastry blender until crumbly (fingertips are generally easiest for such a small amount, I find). Sprinkle crumb topping over pie.
Caramel sauce: (you will have extra)
2/3 cup granulated sugar
2/3 cup buttermilk
1 tbsp butter
1 tbsp bourbon or whiskey
1 tsp vanilla extract
1/4 tsp fine sea salt
In a heavy, medium-sized saucepan pour sugar in a level layer, then set on medium heat. Avoid excessive stirring, but be sure to move chunks around if needed to ensure even melting. Once melted, stir continuously until sugar is amber in color.
Turn off heat and immediately add butter, being mindful of any spitting or hissing. Pour in buttermilk.
Cool caramel for a bit, then stir in bourbon, vanilla, and salt.
Store caramel sauce up to 1 week in fridge. Can be returned to pouring consistency with a bit of warming. Do not leave out for longer than a few hours, or risk spoilage.